How to Install a Well Pipe for Your Water System?
Installing a well pipe is a crucial step in establishing an efficient water system. Well pipes are vital for groundwater extraction. According to industry statistics, about 80% of U.S. households rely on private wells. This highlights the importance of understanding well pipe installation.
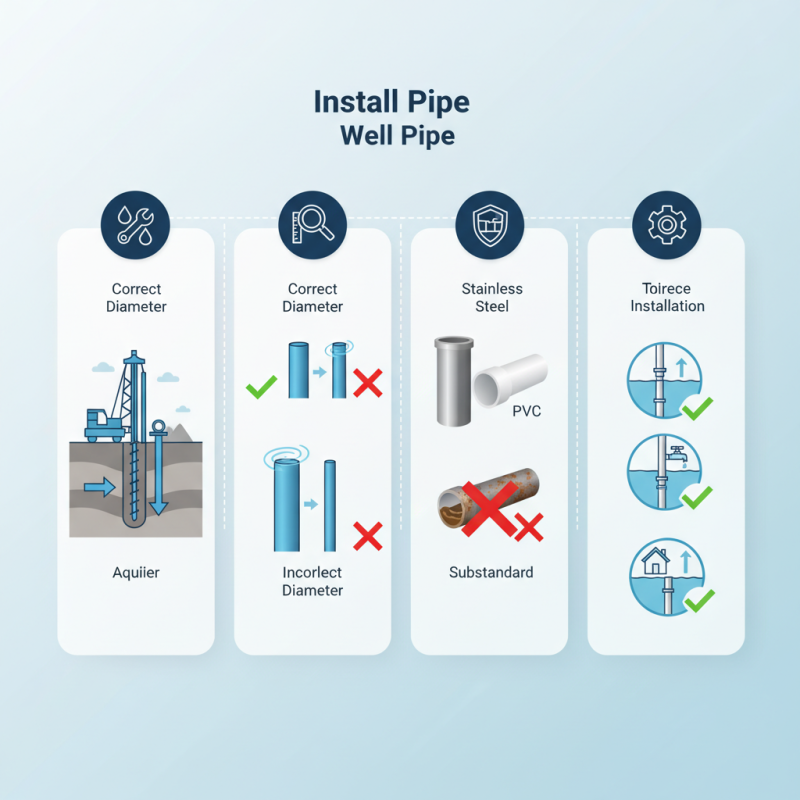
Proper installation can minimize future problems. However, many DIY enthusiasts overlook details. For example, the right diameter of a well pipe is essential. A mismatch can reduce water flow. Reports show that nearly 30% of well installations fail to meet local regulations. This can lead to unnecessary costs later on.
Choosing high-quality materials is equally important. Substandard pipes can corrode, leading to contamination. It’s recommended to use PVC or stainless steel pipes for durability. While it might seem straightforward, mistakes can happen. Each step requires attention to avoid complications. Reflecting on these factors is essential for a successful installation.
Understanding the Basics of Well Pipe Installation for Water Systems
Installing a well pipe is crucial for an effective water system. Understanding the various components is important. The well pipe, also known as casing, is essential to keep the well open and to prevent contamination. According to the National Ground Water Association, nearly 15% of groundwater wells fail within the first year due to improper installation. This highlights the need for attention to detail.
When installing a well pipe, depth and diameter matter. A typical well pipe ranges from 4 to 6 inches in diameter. The depth depends on water table levels in your area. You may need to drill deeper for better water quality. Using correct materials for the pipe is another important aspect. PVC and steel are common choices, but their long-term durability varies.
Some might overlook the importance of sealing the well properly. A poorly sealed well can lead to contamination. According to a study by the U.S. Geological Survey, about 30% of private wells have contamination issues due to neglect. It's crucial to follow best practices during installation. Don't rush through this process. Take the time to ensure everything is just right.
Choosing the Right Materials for Your Well Pipe Installation
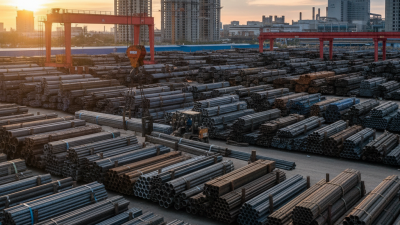
Choosing the right materials for your well pipe installation is critical. The pipe must withstand various conditions over time. Consider the depth of your well and the soil types in your area. These factors will impact your choice significantly.
PVC pipes are a popular option. They are lightweight and resistant to corrosion. However,they may not perform well in extremely cold environments. Steel pipes are more durable but can rust. Assess your local climate before making a decision.
Another factor to consider is the diameter of the pipe. A larger diameter allows for better water flow. However, it may be more expensive and harder to handle. Reflect on your needs and budget. Ultimately, the best choice aligns with your water system requirements and local conditions.
Step-by-Step Guide to Digging and Preparing the Well Site
When preparing your well site, begin by selecting the right location. The area should be easily accessible and away from potential contaminants. Consider natural water flow and nearby structures. Use a shovel to mark the area, ensuring it's a minimum of 10 feet from septic systems. Check for underground utilities beforehand; hitting a pipe can cause significant delays.
Once the site is marked, start digging. Aim for a depth based on the water table in your area. Use a post hole digger or auger for precision. Maintain a steady pace to avoid collapse. Soil can vary, so be prepared for mixed conditions. After reaching the desired depth, clear the hole of debris and sediment.
It’s crucial to have a clean site to install the well pipe effectively. Don’t rush this step; a sturdy base ensures a reliable water supply.
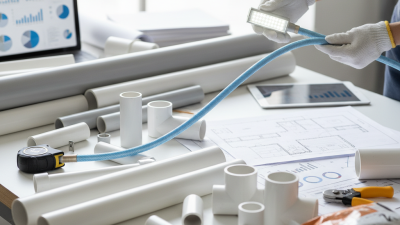
Techniques for Properly Connecting Well Pipes to Your Water System
Connecting well pipes to your water system requires careful attention. Start by measuring the depth of your well. This ensures the pipes are cut accurately. If the pipes are too short, it may lead to air leaks and poor water access. Consider the diameter of the pipe as well; it affects water flow. The right size will reduce strain on your system.
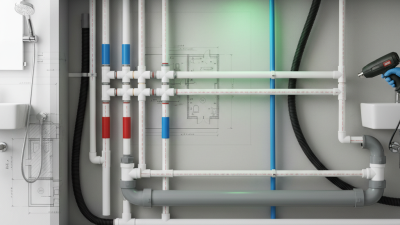
Next, secure the connections between the pipes. Use appropriate fittings to avoid leaks. Tightening them too much can crack the fittings. Check for any irregularities in the joints. A small gap can cause significant issues over time. Regular inspections of these connections can save you from expensive repairs later.
Don’t forget to insulate your pipes. This is crucial in colder climates. Pipes left unprotected can freeze, leading to bursting. Use foam sleeves or insulated wraps. Ensure every section is checked for coverage. Allowing room for error here can lead to bigger problems down the line. It’s okay to reflect on your installation. If something doesn’t seem right, revisiting the process can make a difference.
How to Install a Well Pipe for Your Water System?
| Step |
Description |
Tools Needed |
Estimated Time |
| 1 |
Choose the right pipe material based on the depth and water quality. |
Pipe wrench, pipe cutter |
30 minutes |
| 2 |
Measure and cut the pipes to the required lengths. |
Tape measure, pipe cutter |
45 minutes |
| 3 |
Assemble the pipe sections and connect using appropriate fittings. |
Pipe fittings, sealant |
1 hour |
| 4 |
Test the connections for leaks and ensure proper flow. |
Water source, bucket |
30 minutes |
| 5 |
Insulate or bury the pipes to protect from freezing. |
Insulation material, shovel |
2 hours |